Variable DC Power Supply Build
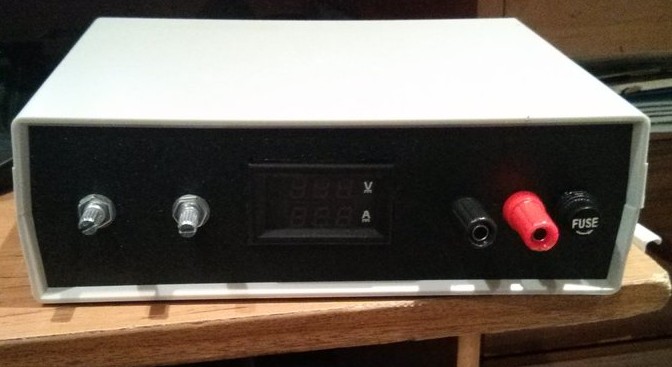
 Power supply front panel: voltage adjust and current limit potentiometer knobs somewhere between China and AU
So I’ve wanted a reliable bench power supply for a long time and it’s always been on the “to-do” list. As I’ve learned more and more about electronics I’ve considered building one at different stages and now I’ve finally done it.
Planning
Originally I’d planned to build a power supply from an old ATX supply like many have done before. In order to set this up with binding posts with a safe clearance was not going to be possible with the spare ATX supply I have. This also made the idea of adding an LM317 into the ATX supply to get ~12V adjustable was not going to happen without constructing a completely new enclosure.
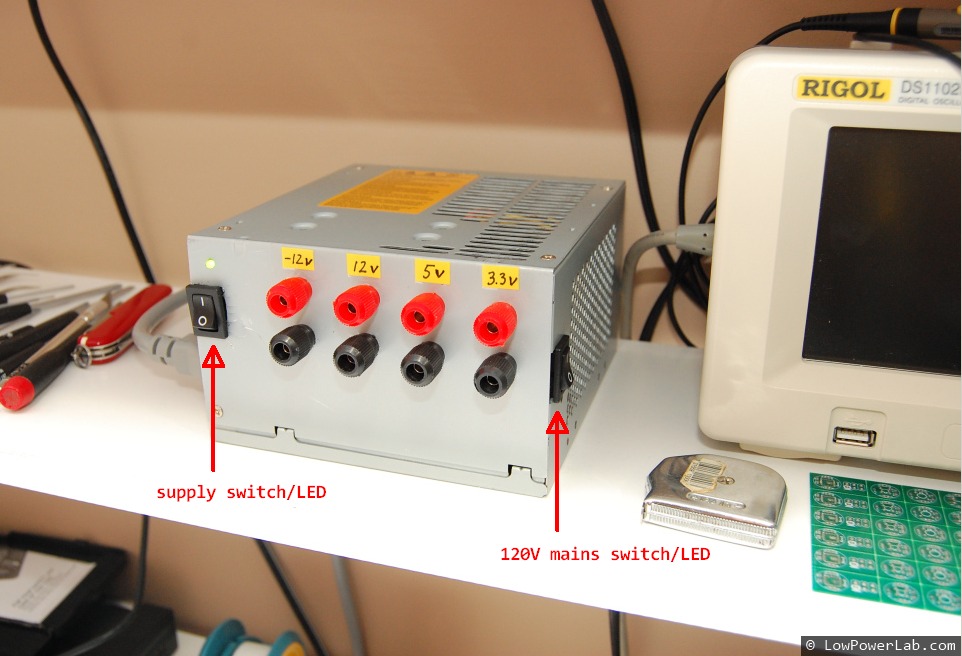
 Converted ATX bench power supply
After realising this wasn’t going to work, I explored the option of using LM7805 and similar LM78xx fixed linear regulators to give myself a number of fixed DC voltages to play with. During this phase I learned about the LM317 variable linear regulator and was convinced a combination of an LM317 variable voltage with some fixed voltages (5V, 9V and 12V) was the way to go. This never eventuated partially due to the current limitations of these linear regulators and partially due to my hate of perfboard/prohibitive cost of PCB manufacture.
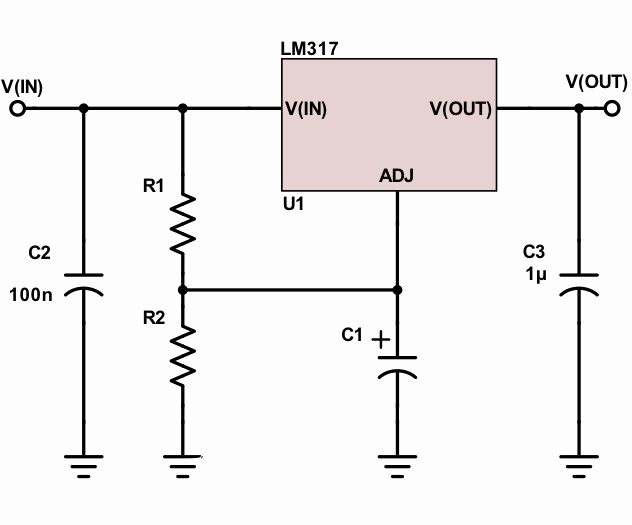
 LM317 variable voltage supply, image from electronics-lab.com. Click to see the LM317 calculator
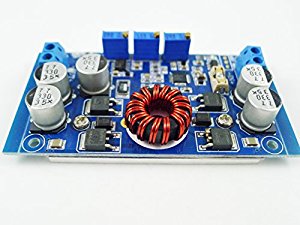
Just this semester we’ve been learning about buck/boost converters (having only studied buck converters in the past) and in researching DC-DC converters I came across the LTC3780 which I’ve finally gone ahead and built a power supply from.
Utilising the Buck/Boost configuration allows for stepping up and down from the input voltage supplied to the module. Other reasons this module has been selected is that it allows control of the output current using a trimpot as well as just a generally higher limit on the current output when compared to the LM series voltage regulators limited to 1A.
Parts
- LTC3870 module - $25
- 12V “led strip”power supply - $10
- Voltmeter/Ammeter combo - $5
- Binding posts for banana Jacks (I already had some black/red) - $1.20
- 500k Potentiometer - $1.00
- 200k Potentiometer - $1.00
- Potentiometer knobs - $0.40
- IEC 240V input & switch - $2.00
- Enclosure - $15.00
- fuse holder (already had one) - $0.40
Total cost: $61.00
Construction
Assembling this power supply was not difficult in the slightest. The modular nature of this power supply means that it was essentially wiring together the individual components. Most of the assembly time was spent using the rotary tool to shape out the front/back panel holes. As can be seen from the above photos
It should also be noted that the voltmeter/ammeter that I purchased was slightly different to the one in the picture and did not require an external shunt. To wire the meter
Accuracy
The voltmeter is a few hundred mV out when the voltage is lower (0-15V) above this can be up to 1V out at the higher end of the scale (20-28V).
//GALLERY
It’s not the best or cheapest or most well constructed power supply out there but it’s good enough for me right now.
